
If you have replaced the same shower head twice in three years, the problem is not bad luck. It is what the head is made of. Here is what goes wrong, what to look for instead, and how to install a better one this weekend without calling a plumber.
Most shower heads do not fail suddenly. They decline. The spray starts shooting sideways. The handheld drips at the connection. The chrome starts flaking near the threads. The combo's diverter knob gets stiff, then loose, then starts to leak. One day you notice the whole rain head is drooping.
Nearly every one of those failures traces back to a few cost-cutting choices. Once you know what they are, you can spot them on any listing in about thirty seconds.
The five ways cheap shower heads fail
1. Plastic bodies with a chrome coating
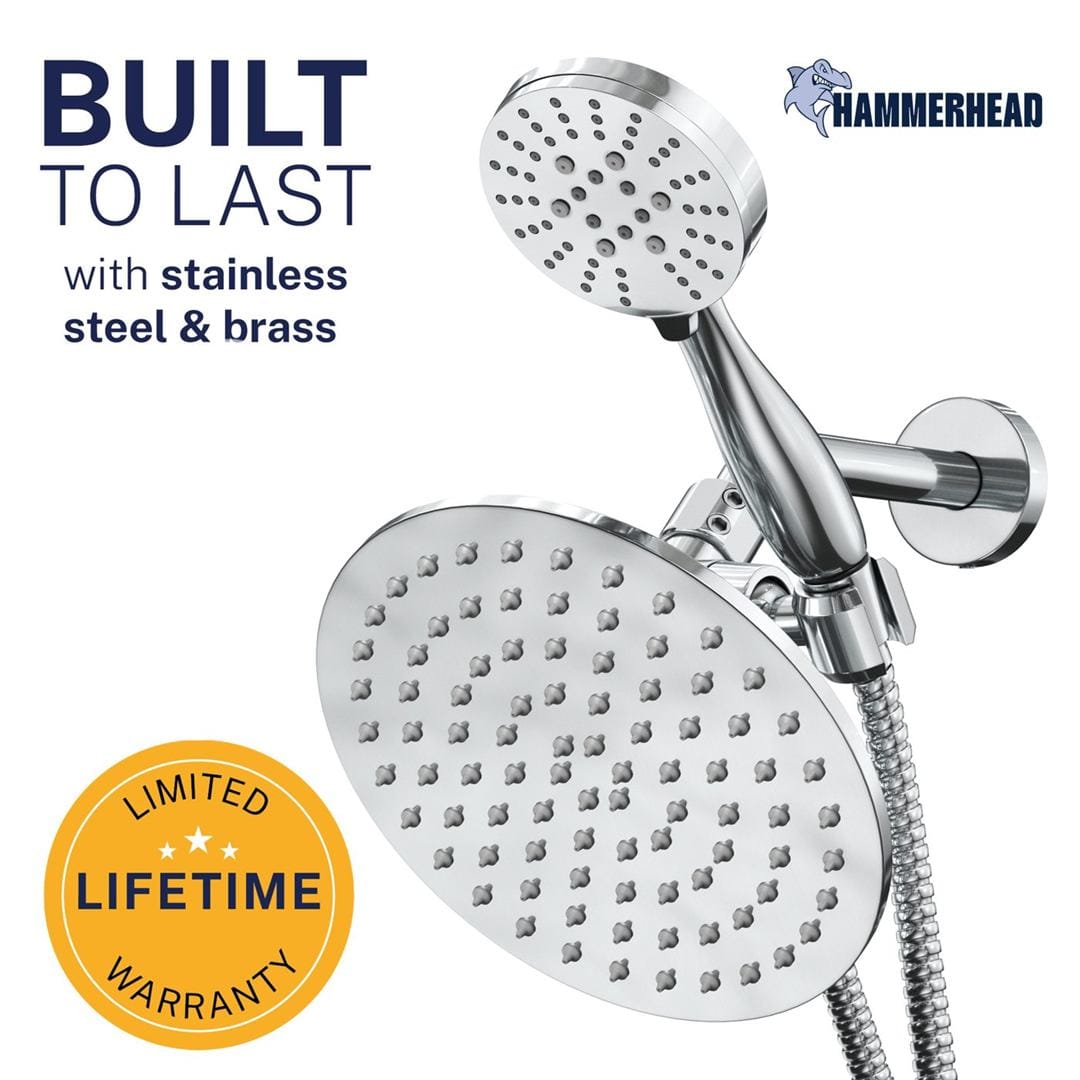
Many budget shower heads are ABS plastic with a thin chrome-colored plating. They look fine in the photos and on day one. But plastic flexes with every temperature change, the plating cracks along with it, and it starts to peel around the threads and edges.
What to look for instead: stainless steel and brass. A metal head feels noticeably heavier in the hand, and the finish sits on a rigid surface that does not flex.
2. Plastic diverters that crack and leak
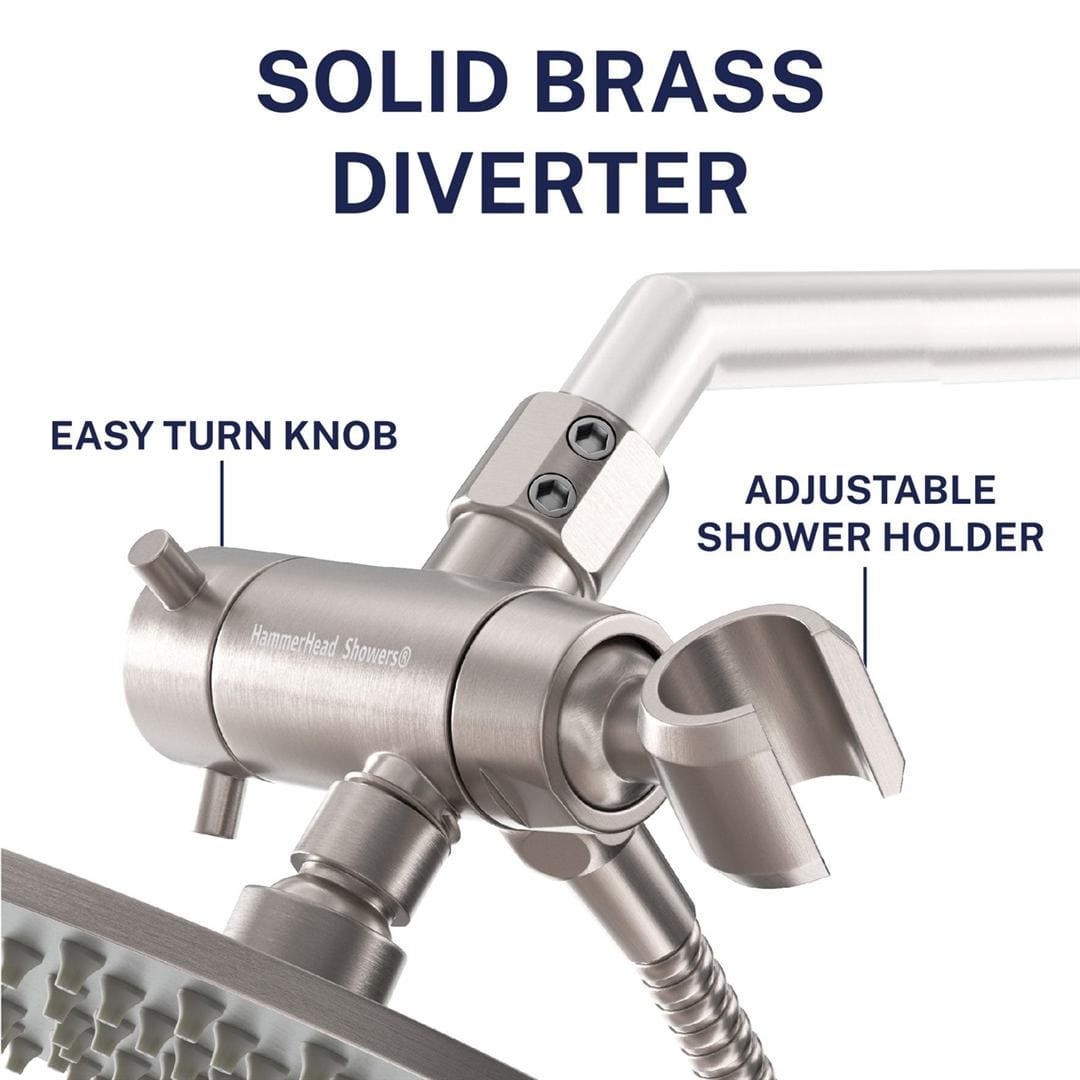
On a dual or combo shower head, the diverter carries the full weight of both heads and gets turned every day. In plastic, that combination is a recipe for cracks at the threads and leaks around the knob. It is also why so many plastic combos sag forward over time.
What to look for instead: a solid brass diverter. Brass is the same material used in faucet valves, because it is strong, machinable and corrosion resistant.
3. Hoses that kink, stiffen and crack
Budget handheld hoses are often plastic, or a thin metal wrap over a cheap rubber or PVC inner tube. They kink when you hang the handheld, stiffen over time, and eventually split, usually right at the connector.
What to look for instead: a flexible metal hose of at least 60 inches (72 inches is better), ideally with a silicone inner tube rather than EPDM or PVC.

4. Hard nozzles that clog with limescale
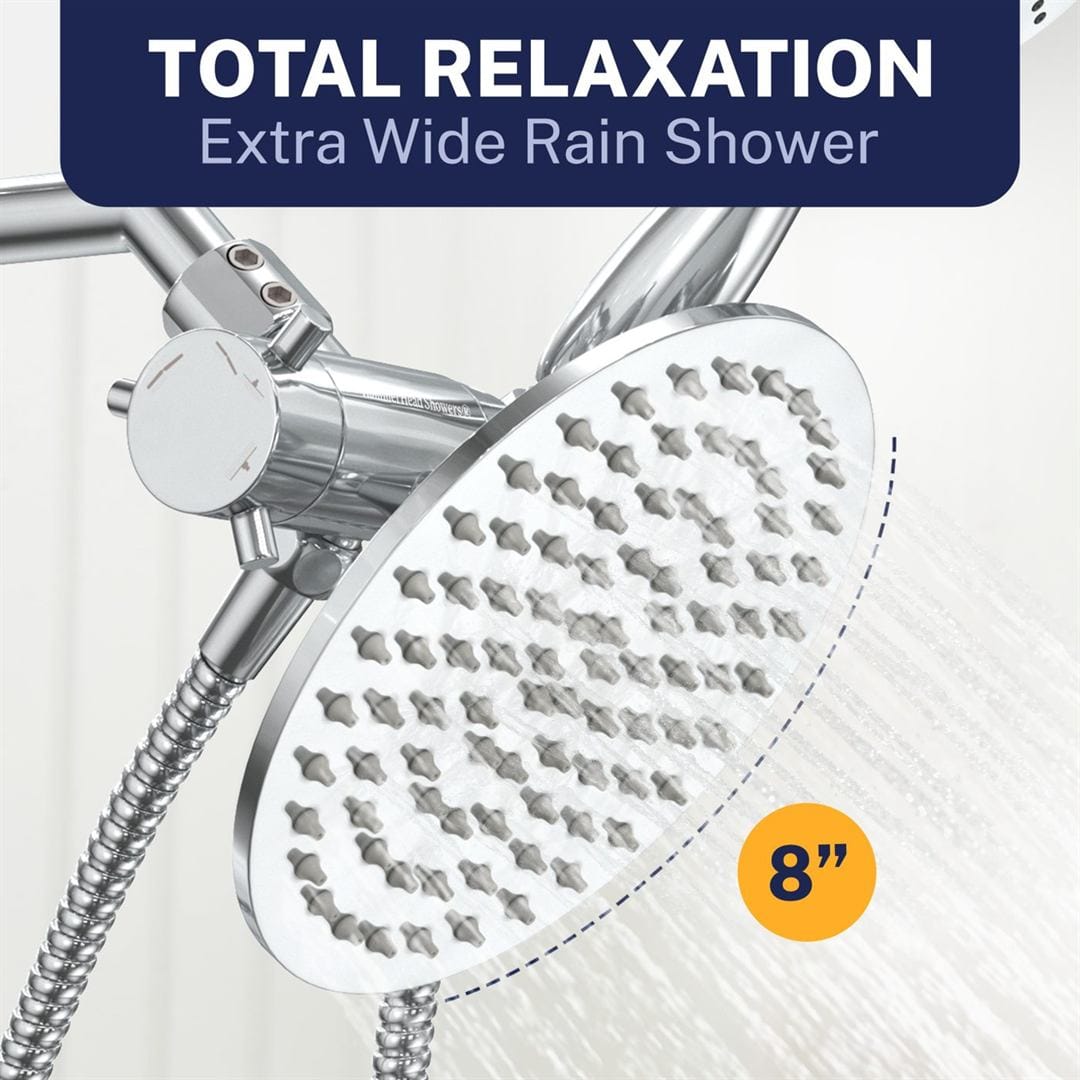
In hard-water areas, minerals build up inside the spray holes. On hard plastic faceplates you have to unscrew the head and soak it for hours. If you do not, the spray becomes uneven and some jets stop entirely.
What to look for instead: soft silicone nozzles. Rub them with your thumb and the deposits break off. It takes ten seconds.
5. Short warranties
A one-year warranty tells you how long the manufacturer expects the product to hold up. A lifetime warranty tells you something very different.
What to look for instead: a limited lifetime warranty covering the whole set.
Our recommendation
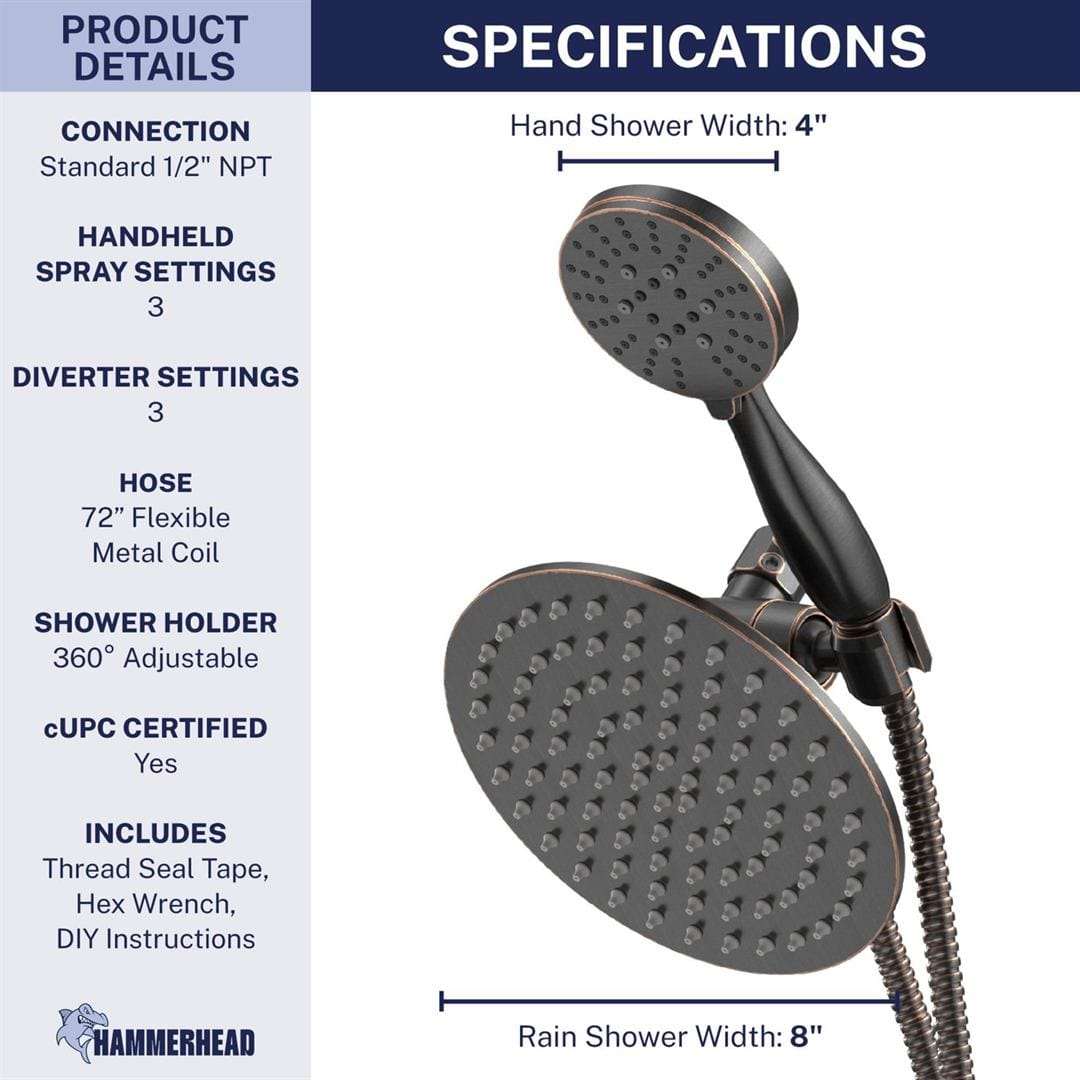
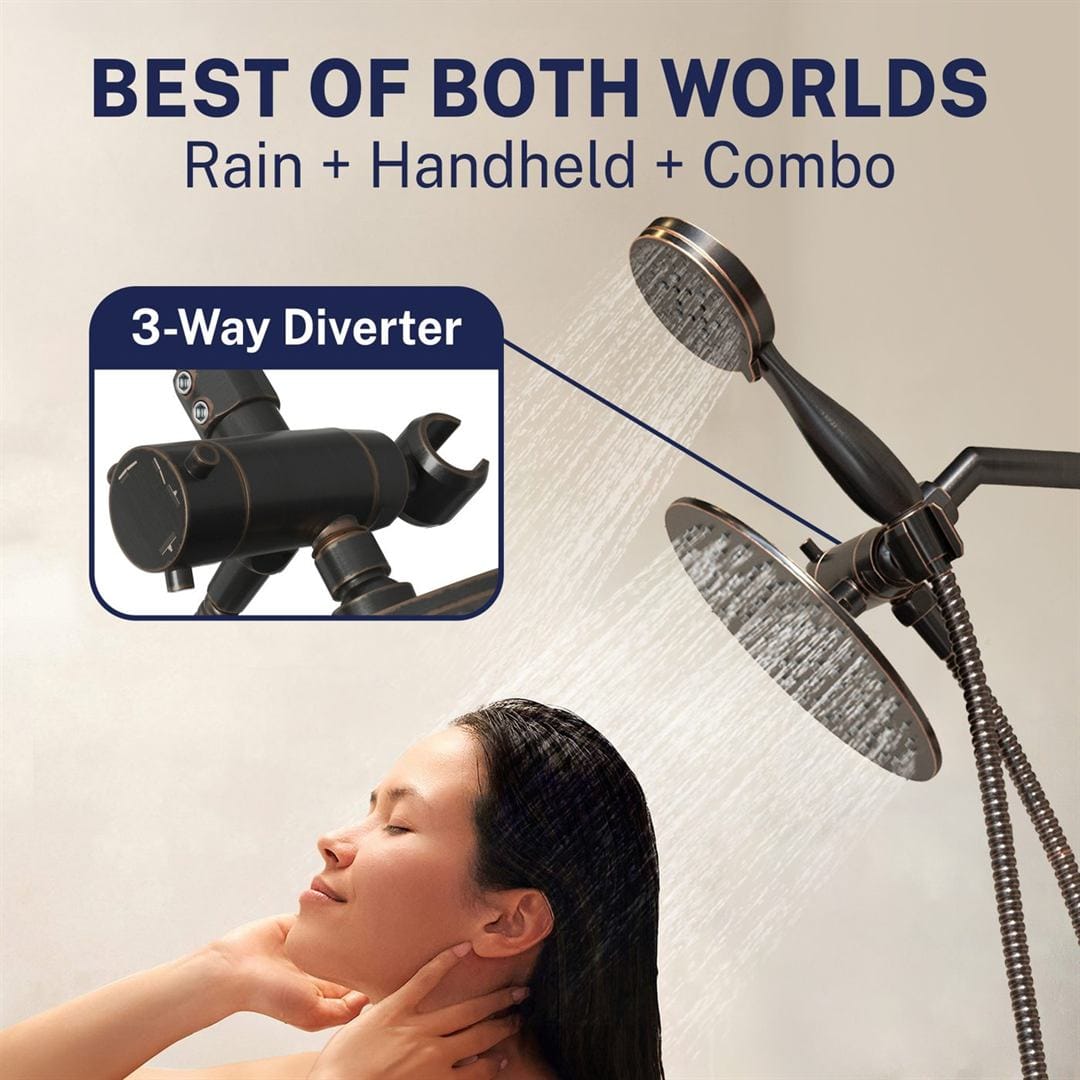
If you want both a rain shower and a handheld, the HammerHead 3-Spray Dual Shower Head ticks all five boxes: stainless steel and brass construction, a solid brass 3-way diverter, a 72" metal hose with a silicone inner tube, pressurized silicone nozzles, and a limited lifetime warranty. It pairs an 8" rain head with a 4" handheld (Mist, Wide, Massage), is cUPC certified, and comes in five finishes at 2.5 or 1.75 GPM.
HammerHead Dual in Chrome on Amazon →
HammerHead Dual in Oil Rubbed Bronze on Amazon →
If you only need a handheld, the HammerHead 1-Spray Handheld Shower Head Set applies the same thinking to a simpler design: one focused spray, stainless steel and brass, a 72" metal hose, an adjustable bracket, and the same lifetime warranty.
HammerHead 1-Spray Handheld on Amazon →
How to install a dual shower head in 15 minutes
You do not need a plumber. You do not even need to turn off the water to the house, as long as the shower valve is closed. Here is the whole job.
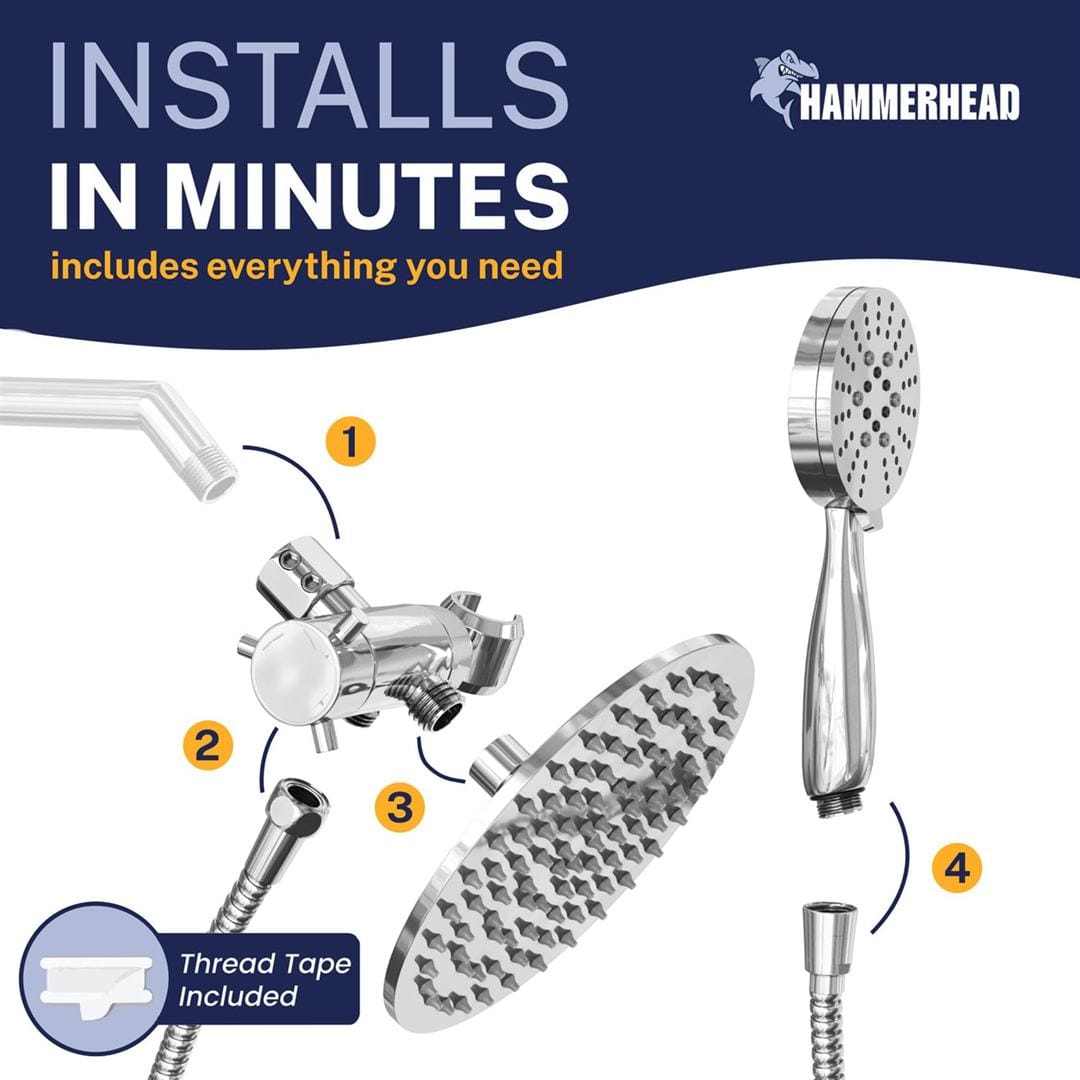
What you need
The new shower head kit (HammerHead includes thread seal tape and a hex wrench)
An adjustable wrench or pliers, only if the old head is stuck
A soft cloth to protect the finish
An old toothbrush to clean the shower arm threads
Step 1: Remove the old shower head
Turn it counter-clockwise by hand. If it will not budge, wrap the connector in a cloth and use a wrench, holding the shower arm steady with your other hand so you do not twist the pipe inside the wall.
Step 2: Clean the threads
Scrub off old tape, mineral deposits and gunk with a toothbrush. Clean threads are the single biggest factor in a leak-free install.
Step 3: Wrap with thread seal tape
Wrap the tape clockwise around the shower arm threads (the same direction you will screw the diverter on), 3 to 4 times, pulling it snug so it sits in the threads.
Step 4: Attach the diverter
Screw the brass diverter onto the shower arm by hand until snug, with the knob and handheld holder facing where you want them.
Step 5: Attach the rain head and hose
Screw the 8" rain head onto the diverter. Connect one end of the 72" hose to the diverter outlet, making sure the rubber washer is seated inside the connector.
Step 6: Attach the handheld and test
Connect the handheld to the other end of the hose, dock it, and turn on the water. Turn the diverter through all three positions (rain, both, handheld) and check every joint for drips. If one drips, give it a gentle extra quarter-turn.
Do not overtighten.
Metal threads with tape and washers seal with firm hand pressure. Cranking with a wrench can damage the washers and the finish.
Troubleshooting
Drip at the shower arm: remove, add two more wraps of tape, reinstall.
Drip at the hose connections: check the rubber washer is present and seated flat.
Handheld will not stay angled: adjust the 360° holder and tighten its pivot.
Weak spray after install: run the water for a minute to flush any debris, then check the hose is not kinked.
Frequently asked questions
How long should a shower head last?
A well-made metal shower head can last many years with occasional cleaning. Plastic heads often show leaks, clogging or peeling finish much sooner.
Is a heavy shower head bad for my shower arm?
A standard metal shower arm is built to carry a metal shower head and diverter. If your arm is loose where it enters the wall, fix that first. That is a sign of a worn fitting, not the head.
Can renters install this?
Yes. Keep your old shower head, and reinstall it when you move out. The swap takes minutes and leaves no marks.
Do I need to turn off the main water?
No. Just make sure the shower is fully turned off at the valve before you start.